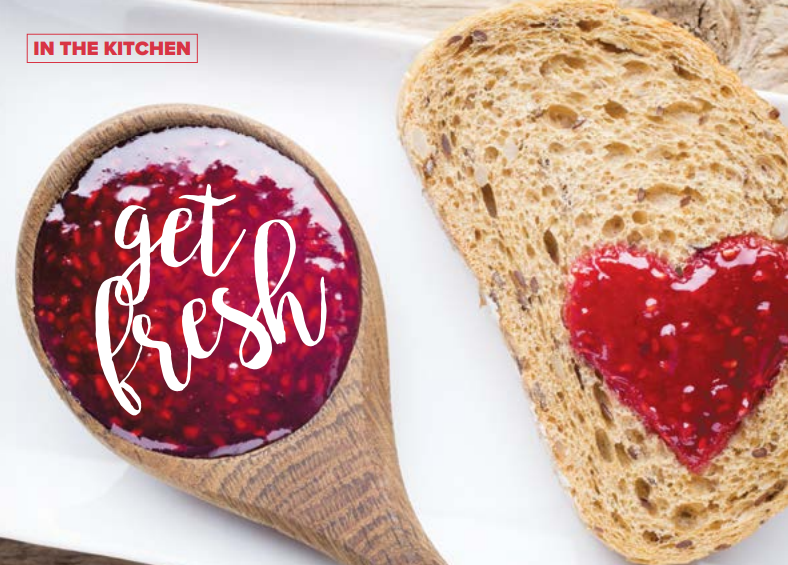
Make the most of July’s bountiful raspberry harvest-
When I was growing up, July at our house meant lots of raspberries. I mean lots: My parents owned a five-acre raspberry farm, and we had more raspberries than we could eat. But even if I had eaten berries all day, I always had room for a certain dessert called “the Raspberry Dessert” (back then I didn’t concern myself with fancy recipe titles). The Raspberry Dessert was a layered treat: a crumbly graham cracker crust and a sweet, satiny cream cheese center layer, all topped with raspberries in red Jell-O. My sisters and I thought it was really fancy – the bright colors, the layers, and the essential Minnesota dessert ingredient, Jell-O.
Fast forward 20 years and my idea of fancy desserts has changed (I haven’t used Jell-O in years). But I found a recipe in a cooking magazine that resembled the Raspberry Dessert. I tested it on my friends and family, and it got thumbs up from everyone. (And it’s still fancy.)
Raspberry Sour Cream Tart
Makes 8 servings
For crust:
8 whole graham crackers, coarsely broken
1/4 cup (packed) golden brown sugar
1/4 cup (1/2 stick) unsalted butter, melted
For filling and topping:
6 ounces cream cheese, room temperature
1/3 cup sugar
1/2 cup sour cream
2 teaspoons fresh lemon juice
1/2 teaspoon vanilla extract
1 1/2-pint baskets raspberries (throw out any moldy or blemished berries)
1/4 cup seedless raspberry jam
Make crust:
Preheat oven to 375 F. Grind crackers and sugar in food processor until coarse crumbs form. Add butter and process until crumbs are evenly moistened. Press crumb mixture firmly onto bottom and up sides of 9-inch-diameter tart pan with removable bottom. Bake until crust is firm to touch, about 8 minutes. Cool crust on rack.
Make filling and topping:
Using an electric mixer, beat cream cheese and sugar in a medium bowl until smooth. Beat in sour cream, lemon juice, and vanilla. Spread filling in cooled crust. Chill until firm, at least 4 hours. (Filling and topping can be made 1 day ahead. Cover; keep chilled.)
Arrange berries over filling. Whisk jam in a small bowl to a loose consistency. Drizzle over berries. Serve immediately or chill for up to 3 hours.
Cooking with the kids
Smaller chefs can pat the crust mixture into the pan. Tell them to crush any big pieces of graham cracker into the crust and make the crust “as flat as they can make it.”
When you are ready for the filling, let the kids put all the ingredients into the mixing bowl (help them measure the ingredients, then let them pour them into the bowl).
After you pour the filling over the crust, let the kids spread it all around. Then they can place the berries on top of the filling. Remind them to be gentle!
When it’s time for the last step, kids can whisk the jam (or stir it with a fork) in a larger bowl than you would use, to prevent spills. If they want to help drizzle it over the berries, give them their own spoon with a tiny bit of jam on it.
Bridget O’Boyle is a parent of two lively kids and teaches kids and grown-ups to cook at Cooks of Crocus Hill in St. Paul.